筆者所使用的是 Windows Server 2022,其他版本操作步驟相同。
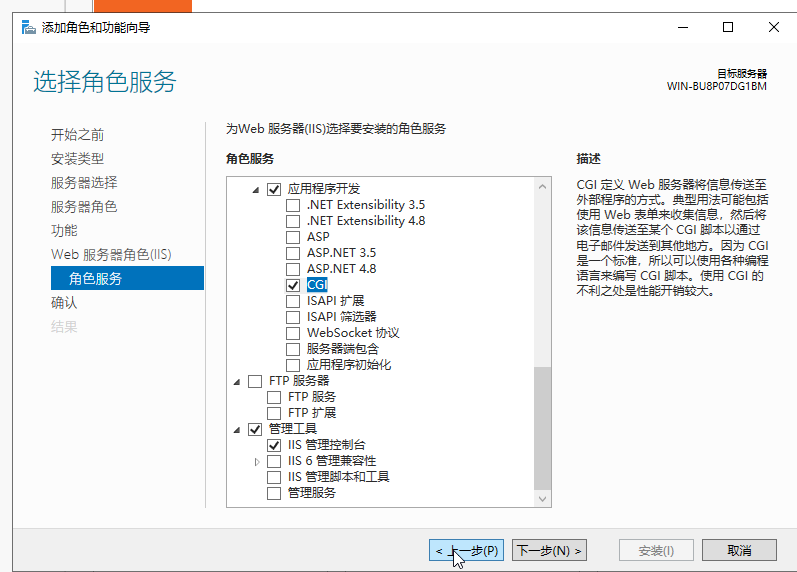
首先在伺服器管理器中添加角色和功能,安裝IIS。依照默認推薦安裝各組件,但要注意,需要手動添加一項,應用程式開發中的CGI選項需要勾選。(如圖)
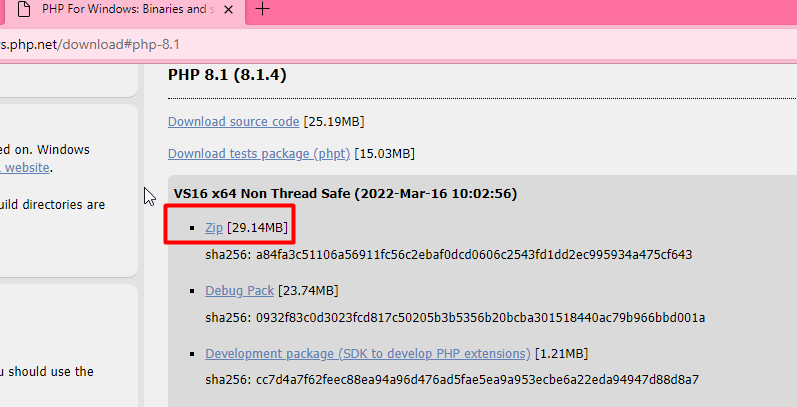
IIS安裝完成後,從php官方下載Windows用php。
https://windows.php.net/download
If you are using PHP as FastCGI with IIS you should use the Non-Thread Safe (NTS) versions of PHP.
所以我們在下載列表中選擇 Non Thread Safe 版本,下載zip包即可。(如無特殊需求建議下載最新版)
解壓zip包到任意位置。如 D:\php\php-8.1.4-nts-Win32-vs16-x64
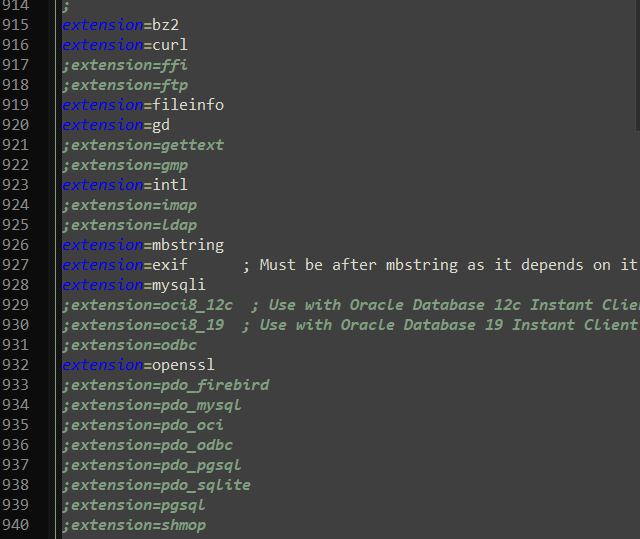
將 php.ini-production 改名為 php.ini 並依照自己的需求修改配置文件。
需要注意的是,請將 extension_dir = “ext” 前的注釋去掉。(如圖)

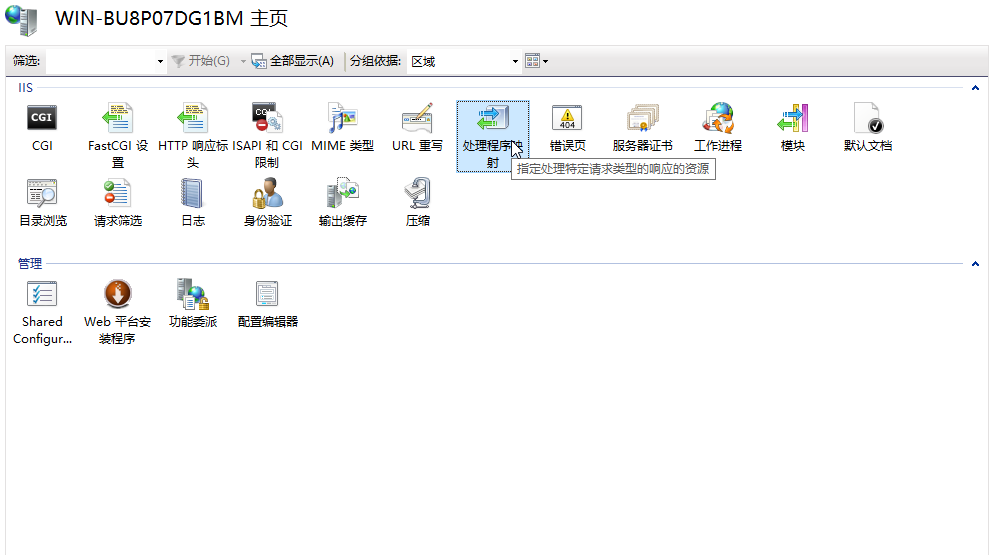
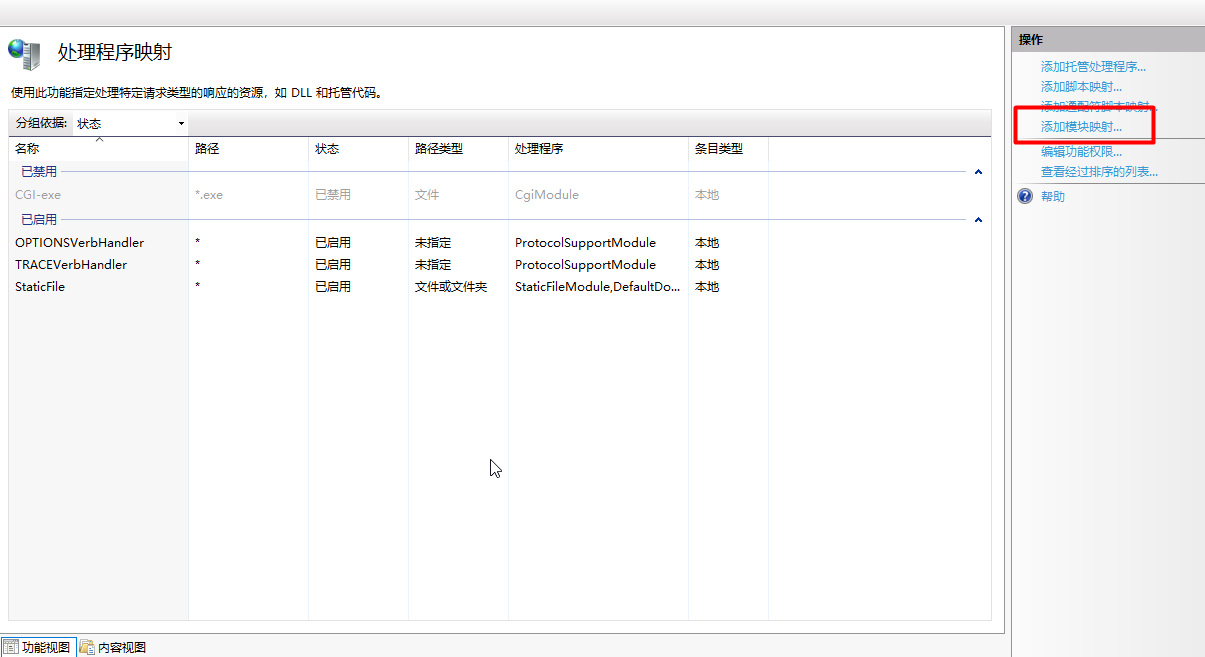
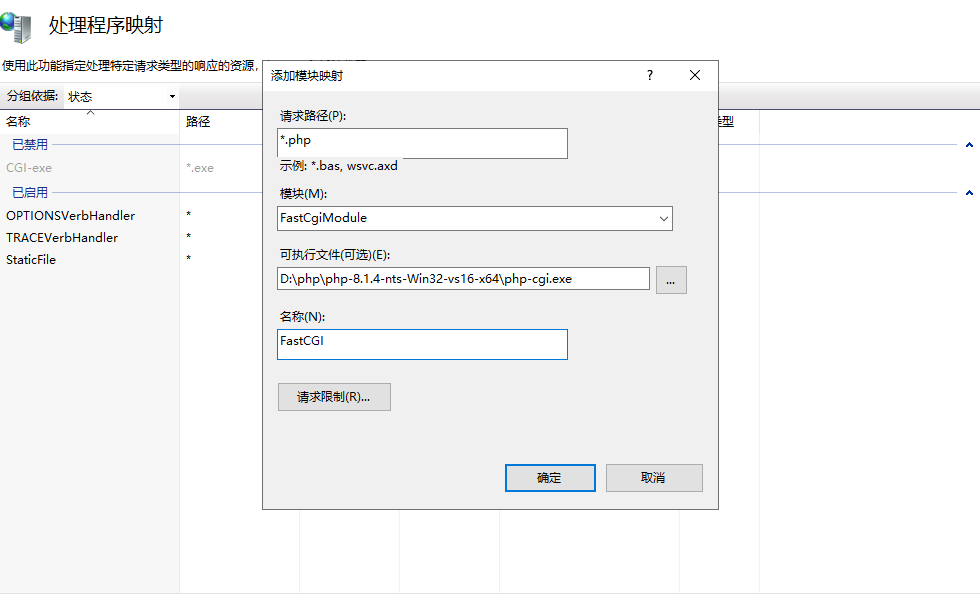
打開IIS管理器,處理程式映射,添加模塊映射,如下圖填寫並確認。
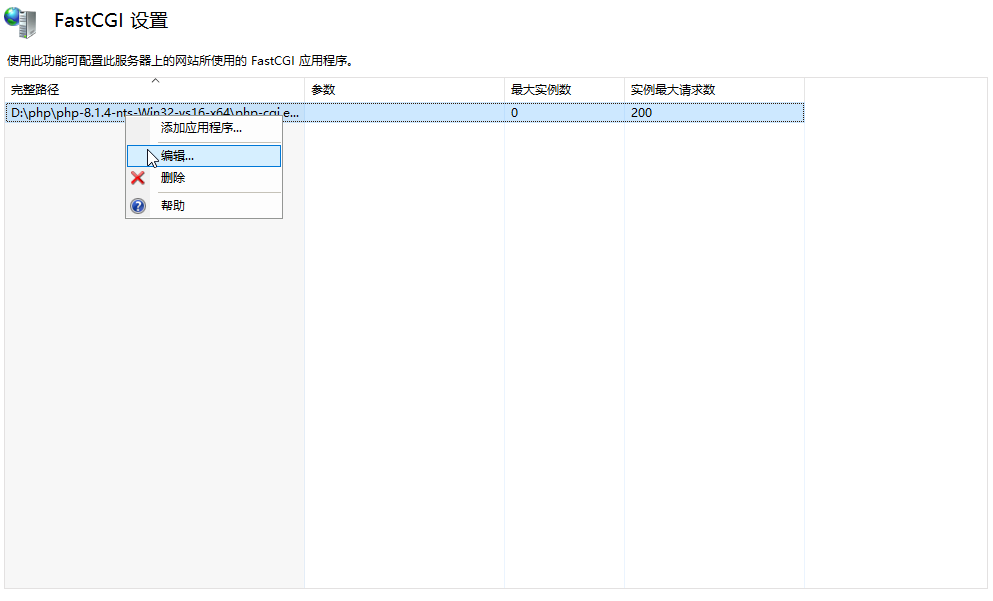
然後在IIS管理器中再打開FastCGI設置。編輯剛剛添加的這個應用。(如圖)
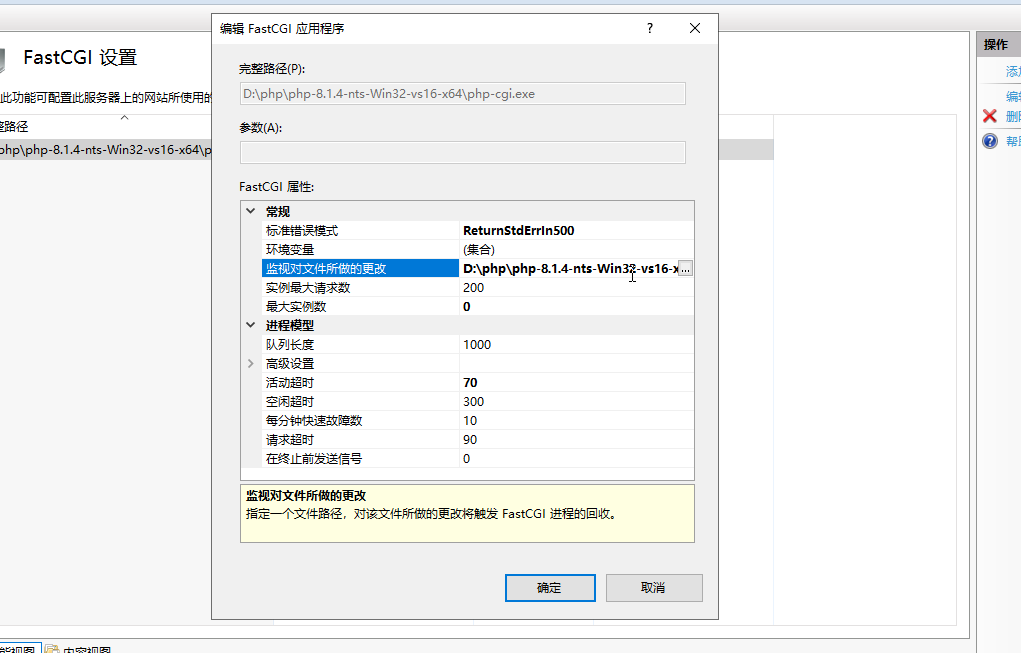
在監視文件更改這個填寫 php.ini 的路徑,目的是在修改配置文件後回收進程並生效。(如圖)
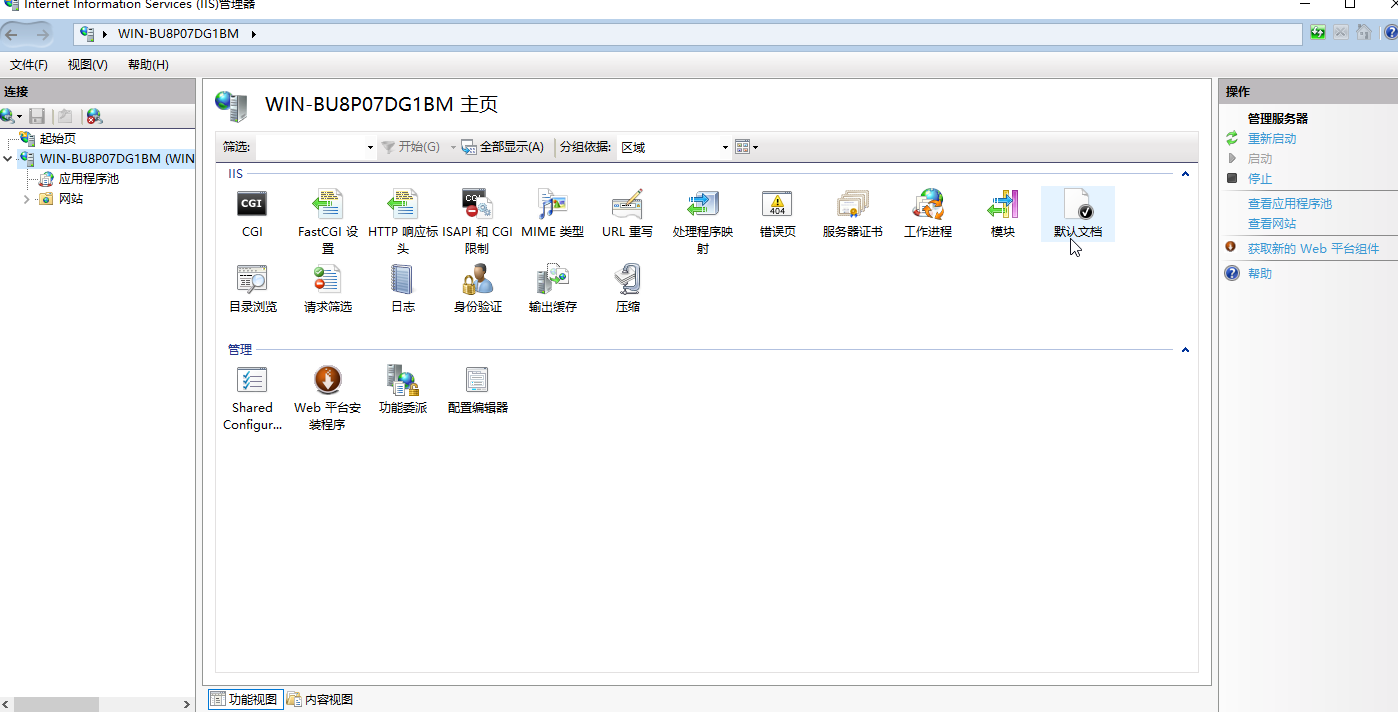
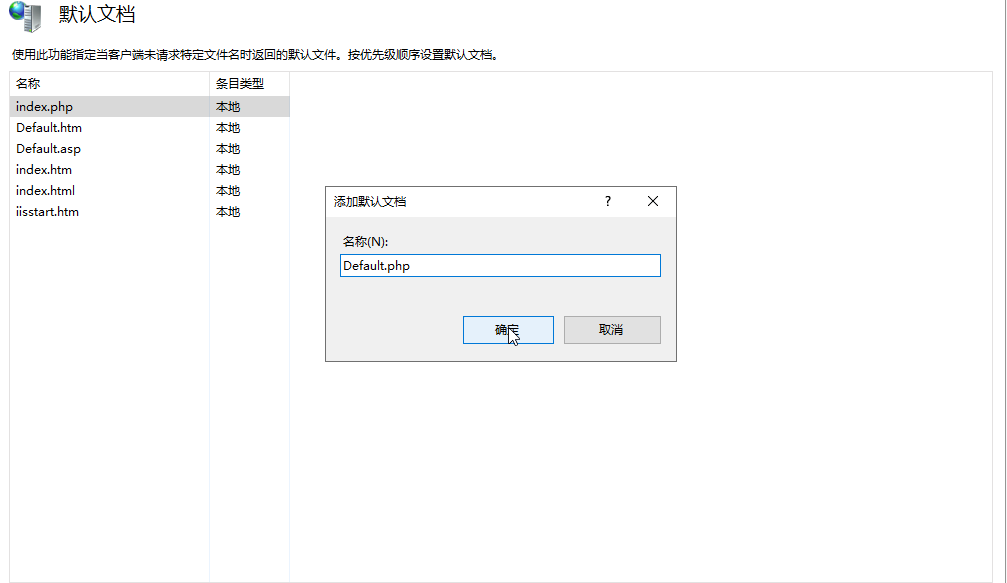
最後我們再打開默認文檔。(如圖)
將 index.php 和 Default.php 添加進去。(如圖)
至此,IIS和php就全部配置完畢了。
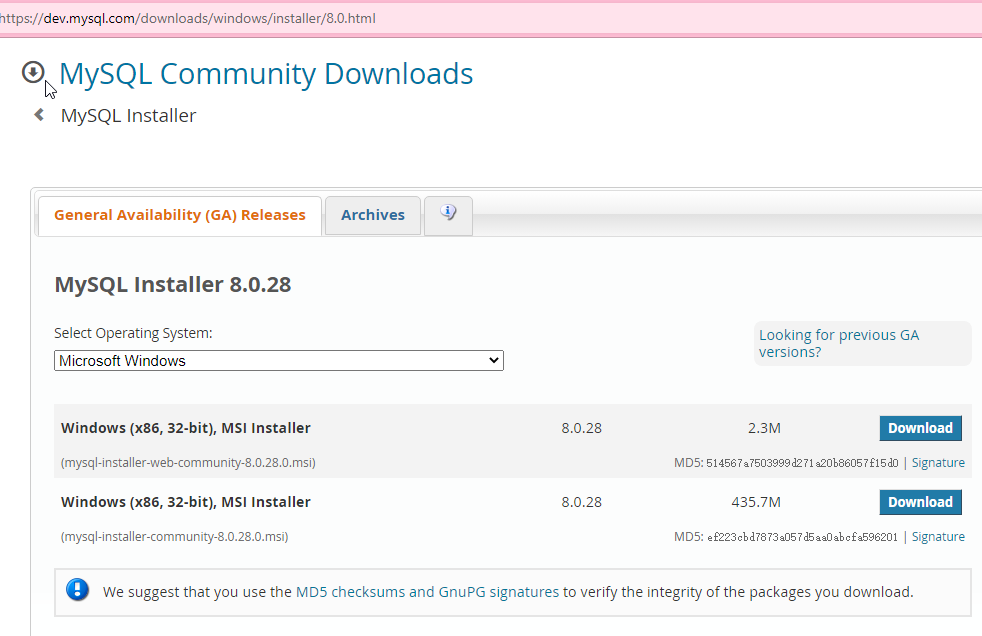
下面我們安裝MySQL。直接在官方下載安裝工具即可。
https://dev.mysql.com/downloads/installer/
線上安裝選擇上面的即可。(如圖)
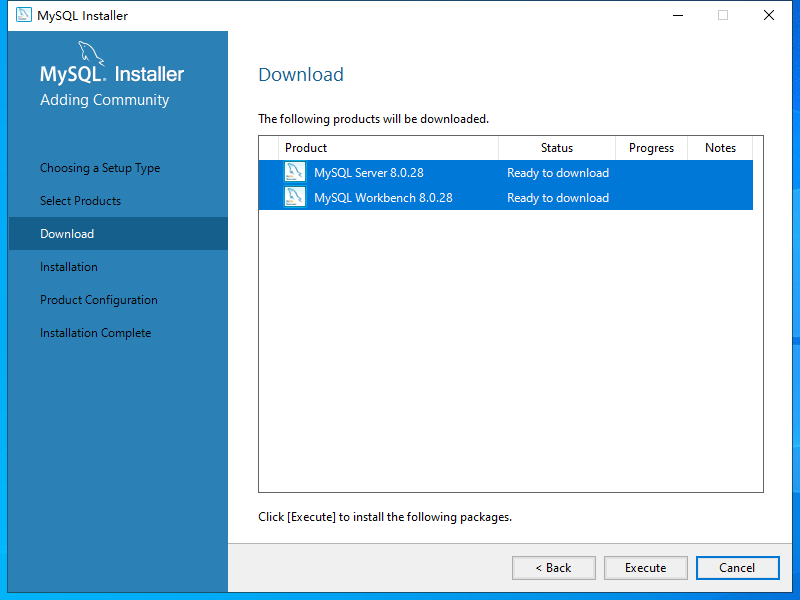
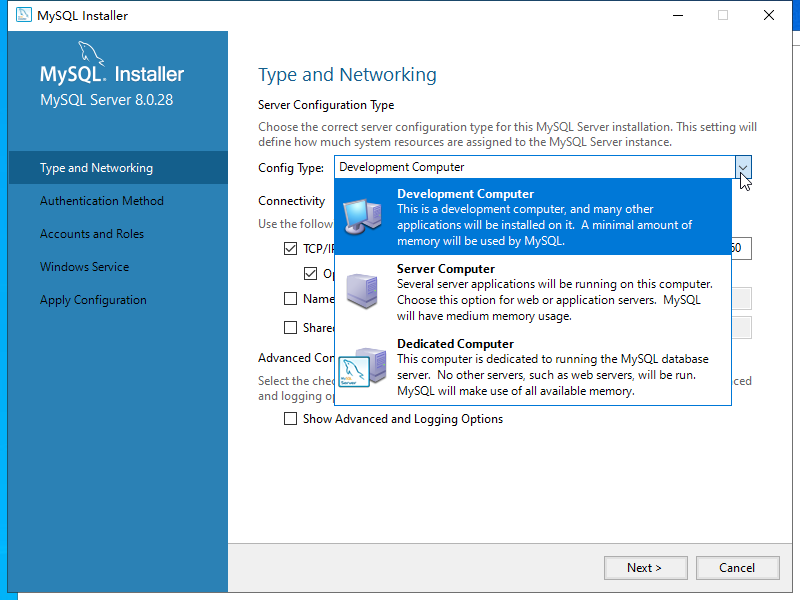
安裝MySQL的伺服器和管理工具。(如圖)
除了這裡三個選項需要依照需求選擇,其餘幾乎都是下一步。(如圖)
至此,IIS+php+MySQL 環境已全部安裝和配置完畢了。
但如果需要在伺服器上運行 WordPress 等,還需要安裝一個 URL Rewrite 擴展,因為IIS無法識別 .htaccess 文件。在如下網站下載安裝。
https://www.iis.net/downloads/microsoft/url-rewrite
然後在網站根目錄創建一個 web.config 文件。並寫入如下:
|
1 2 3 4 5 6 7 8 9 10 11 12 13 14 15 16 |
<?xml version="1.0" encoding="UTF-8"?> <configuration> <system.webServer> <rewrite> <rules><rule name="Main Rule" stopProcessing="true"><match url=".*"/><conditions logicalGrouping="MatchAll"><add input="{REQUEST_FILENAME}" matchType="IsFile" negate="true"/><add input="{REQUEST_FILENAME}" matchType="IsDirectory" negate="true"/></conditions><action type="Rewrite" url="index.php"/></rule> <rule name="WordPress: http://lilith.pro" patternSyntax="Wildcard"> <match url="*"/> <conditions> <add input="{REQUEST_FILENAME}" matchType="IsFile" negate="true"/> <add input="{REQUEST_FILENAME}" matchType="IsDirectory" negate="true"/> </conditions> <action type="Rewrite" url="index.php"/> </rule></rules> </rewrite> </system.webServer> </configuration> |
以上,便是全部了。
@kujou_rin 轉載請註明出處。